

Hi Folks! In this post I will show you how to download and install the VisualSVN Server (5.0.2 to be more precise) on Windows.
Downloading the Installer
Go to https://www.visualsvn.com/server/download/ and click on "VisualSVN Server 5.0.2 (64-bit)".
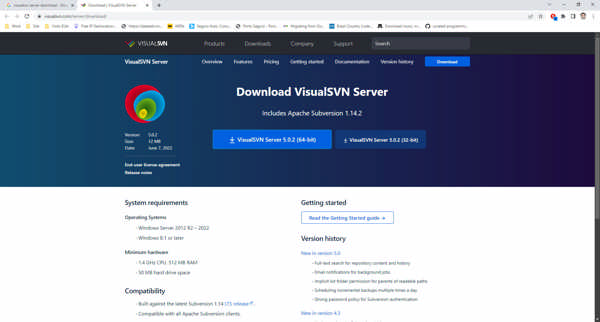
The download will start shortly (no need to sign in/sign up).
Installing the VisualSVN Server
Once the installer is downloaded, go to the location of the file and double-click on it. The installation wizard will start.
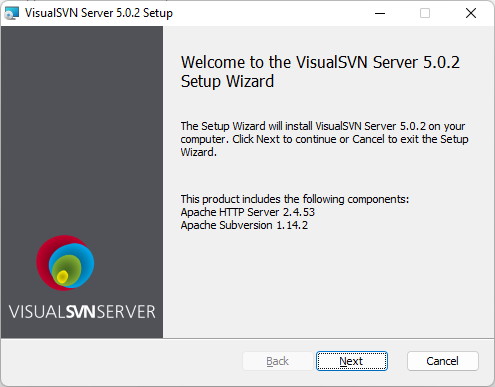
Click on "Next".
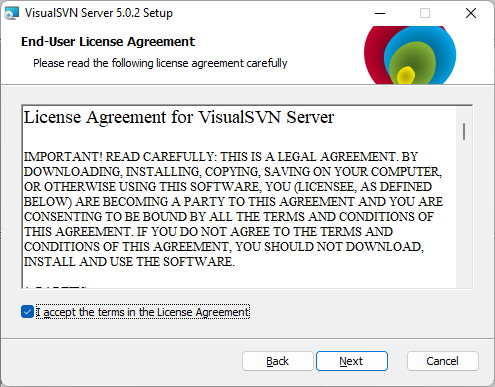
Accept the terms in the License Agreement and then click "Next".
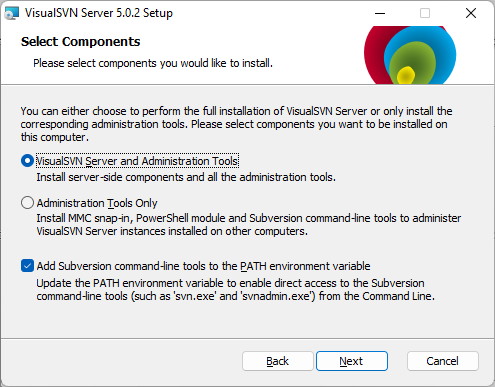
Keep the installation defaults in this step and then click on "Next".
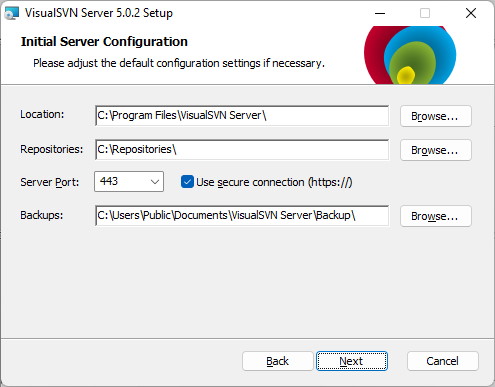
For this step, I will recommend you to keep the default for the Location and change the Repositories, Server Port (this is very important, because if the 443 port is being used already, the service will fail to start) and the Backups folder (to a different hard-disk folder). Then click on "Next".
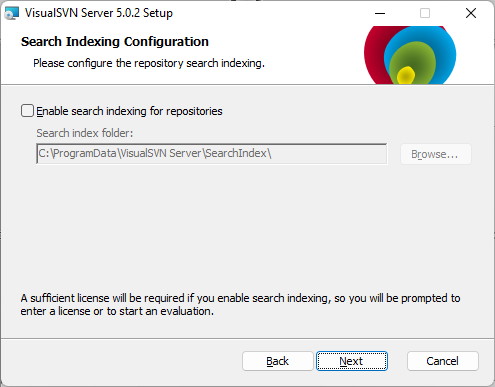
I usually leave the search indexing disabled for the repositories. Click on "Next".
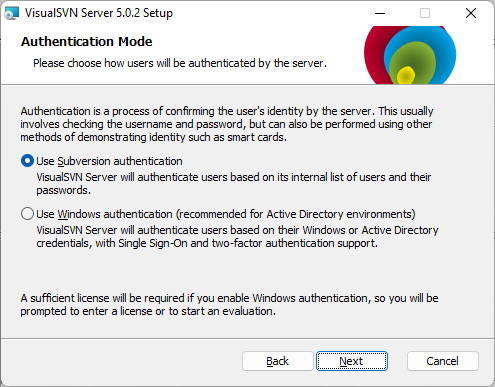
In this step, I prefer selecting the "User Subversion authentication" option (we will create a user in a later section of this post before creating a new repository). Click on "Next".
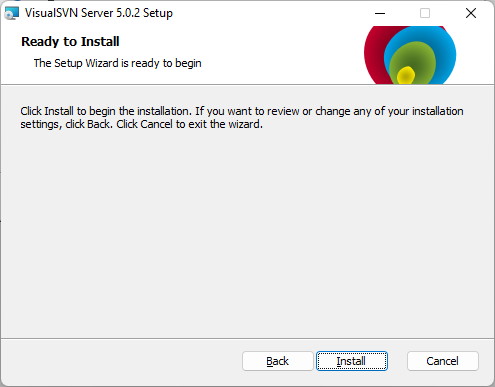
We can finally start the installation process. Click on "Install" to do it.
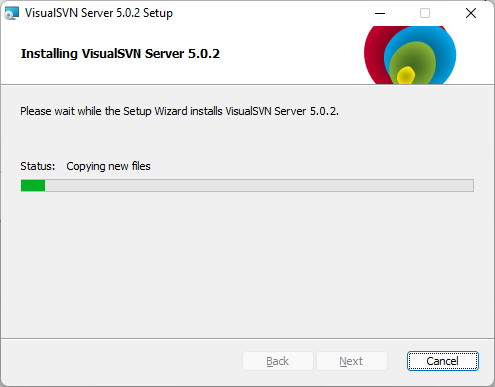
Wait for the installation to complete.

For this step, keep the "Start VisualSVN Server Manager" option selected. Done! You installed the VisualSVN server on your PC.
Creating the first user for SVN authentication
Open the VisualSVN Server application by clicking on the Start menu, then typing in "Visual SVN". The application should be listed.
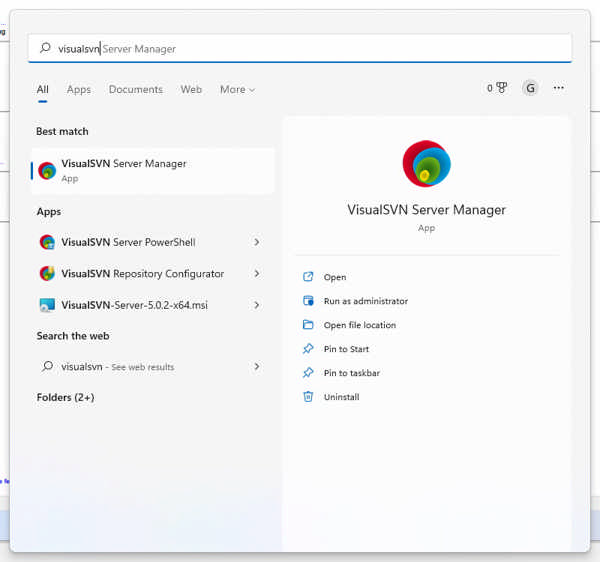
Click on "Open".

In the Local SVN Server, look for the Users folder. Then right-click on it and select "Create User..."

Typing your User name and then the Password and repeat in the Confirm password input field.
Click on "OK". Done! You created your first user on the VisualSVN Server (use it to set the permissions of your repositories - otherwise you won't be able to download the source-code).