

Hi Folks! In this post I will show you how to install and configure the Bonobo Git Server so you work with your source-code however you like (and keep track of changes, create new branches, merge stuff, etc).
But first let's start with IIS and make sure it is installed and configured properly (Bonobo runs on IIS). If your server already has IIS installed, skip the next step and go straight to Installing and Configuring Bonobo Git Server.
Installing and Configuring IIS on your Server
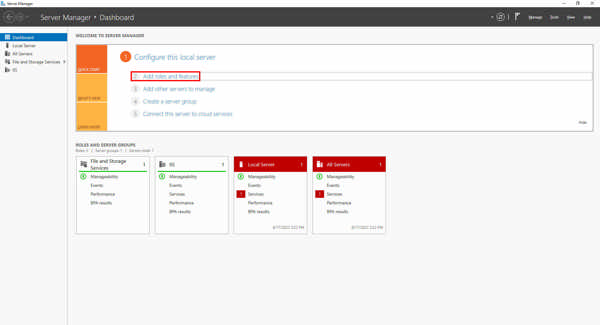
Open your Server Manager and then click on Add roles and features.
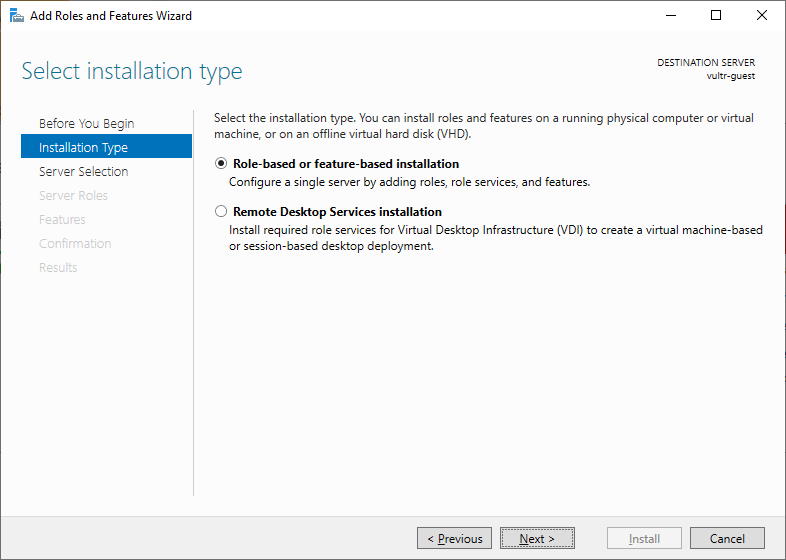
Select Role-based or feature-based installation and then click on Next.
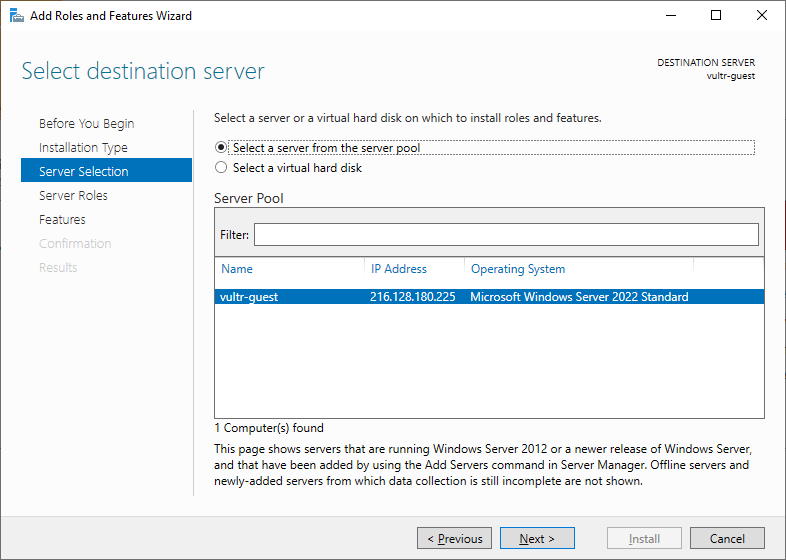
Keep the current selected server in the Server Pool and then click Next.
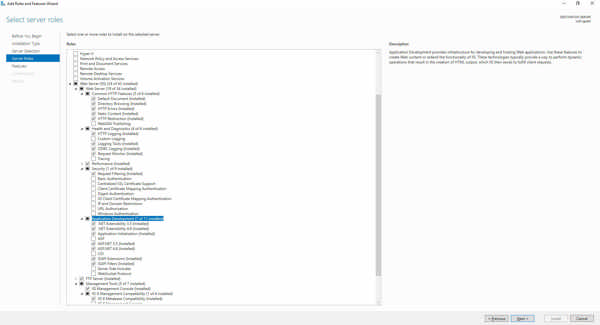
Make sure you have the same features selected in the picture below and then click on Next until the installation process begins.
Done! You now have IIS installed on your server.
Installing and Configuring Bonobo Git Server
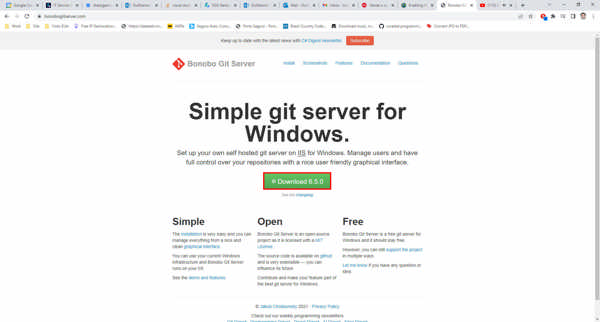
Go to the Bonobo front-page and click on Download to get the latest version of the application.
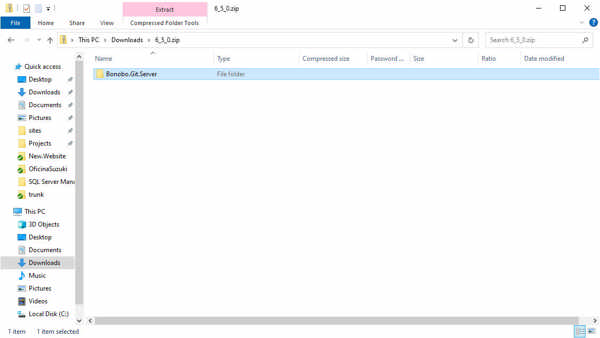
Open the zip file (6_5_0.zip as an example) from the location where you downloaded and copy the Bonobo.Git.Server directory.
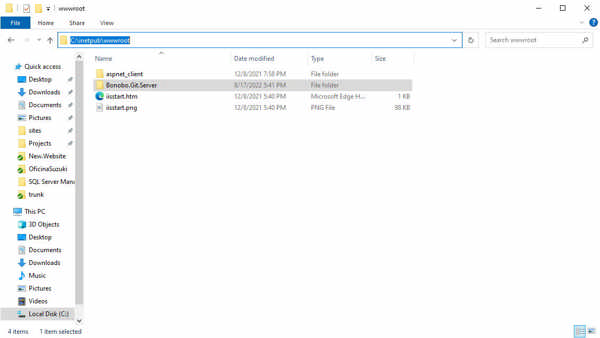
Go to C:\inetpub\wwwroot and paste it there.
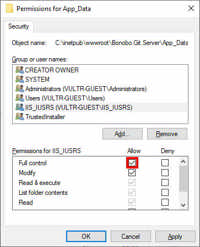
Go to the App_Data directory that's inside the Bonobo.Git.Server directory. We need to make sure that the IIS User has the right permissions on this directory. Right-click on it and select the Security tab. Scroll down to and select IIS_IUSRS in the Group or user names frame. Then click on Edit.
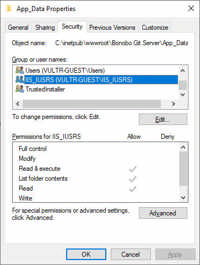
Scroll down to and select IIS_IUSRS again. Mark Full control to allow it. Then click on OK and then OK again.
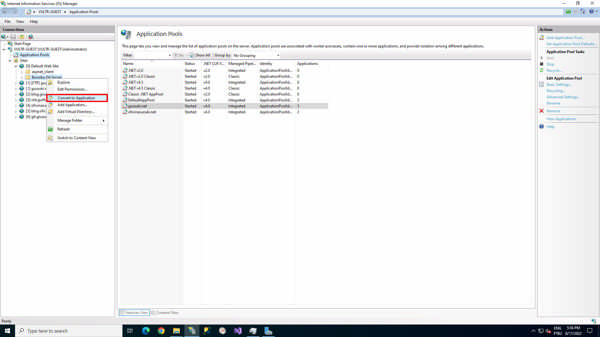
Open your IIS, go to Sites and expand the Default Web Site. Right click on the Bonobo.Git.Server directory and then on Convert to Application.
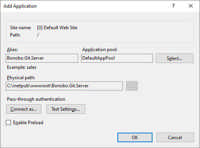
A pop-up screen will be opened. You can choose the application alias for Bonobo.Git.Server and the Application pool (among other options). Leave the default and click on OK.
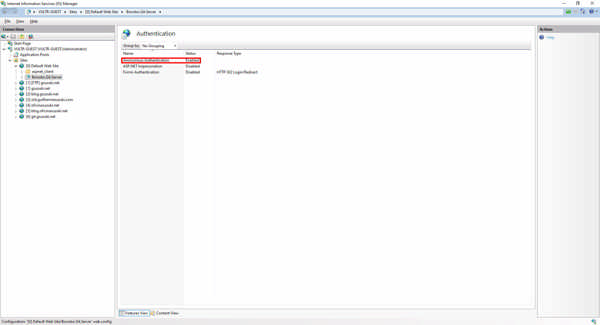
With your IIS still opened, click on the now application Bonobo.Git.Server and look for Authentication. Double click on it.
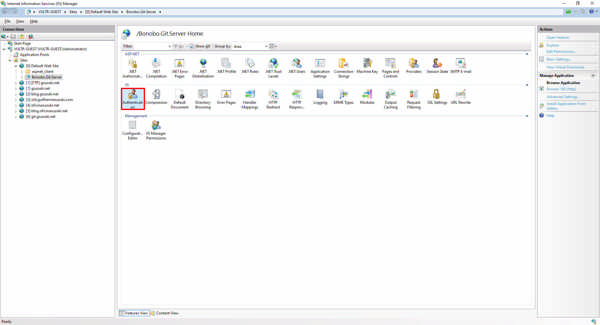
Make sure you have Anonymous Authentication enabled.
Voilà! You installed the Bonobo Git Server on your server. All you have to do now is login into the application by opening your browser and typing in http://localhost/bonobo.git.server/ (username: admin, password: admin), change the default password for the admin user and create your repositories.